Python vs. SPL 1--Download and Installation
Python and esProc SPL are both very good programming languages for analyzing and processing data, and some people may be familiar with only one of them. In order to facilitate you to further understand these two languages and choose a more suitable programming language for yourselves, here we provide a series of articles comparing the advantages and disadvantages of these two languages in various aspects.
Mastering a programming language definitely starts with downloading and installing, so here we'll start by comparing the downloads and installations of Python and esProc SPL.
Python
Python installation is a bit of troublesome for non-professionals, and one of the greatest difficulties is package management and different versions of Python, which can be very annoying for spending a morning or even a few days in installing a few packages. Anaconda is not a language, it's just an integrated management tool or system of python, which can save us a lot of unnecessary trouble. It integrates all the packages that python needs to perform relevant data calculation and analysis, so we just need to install the Anaconda software and nothing else, including the python software.
This is probably the most convenient way to install the Python environment and external libraries, so here introduces this method.
Install Anaconda
The link to download Anaconda is:
https://www.anaconda.com/download/
After getting to the page, click the “download” button, select the system and version you want to install, and download it.
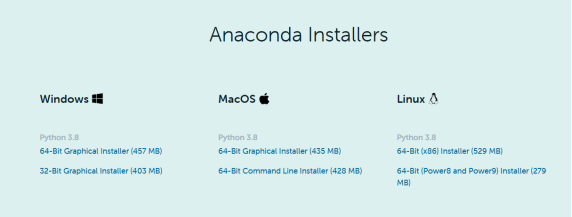
After downloading, double click to start the installation.
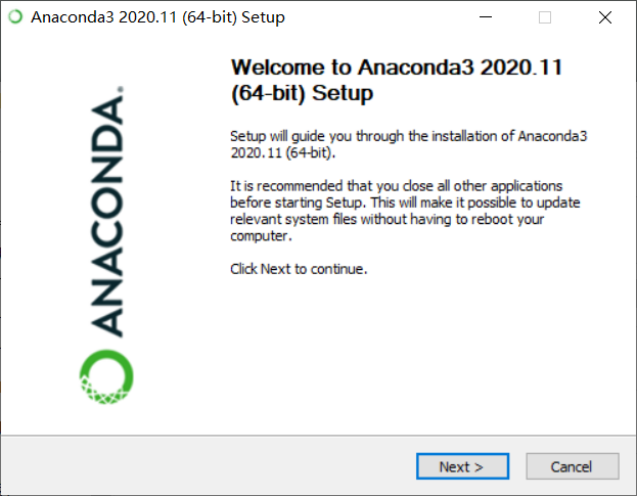
1. On the "Welcome" page, click the "Next" button.
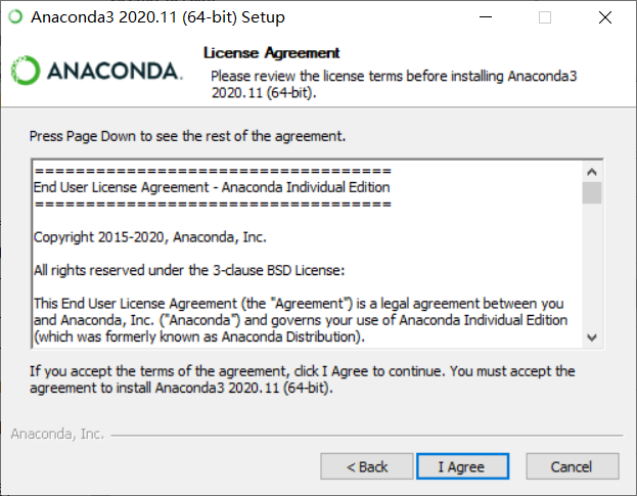
2. On the “License Agreement” page, click the "I Agree" button to accept the agreement.
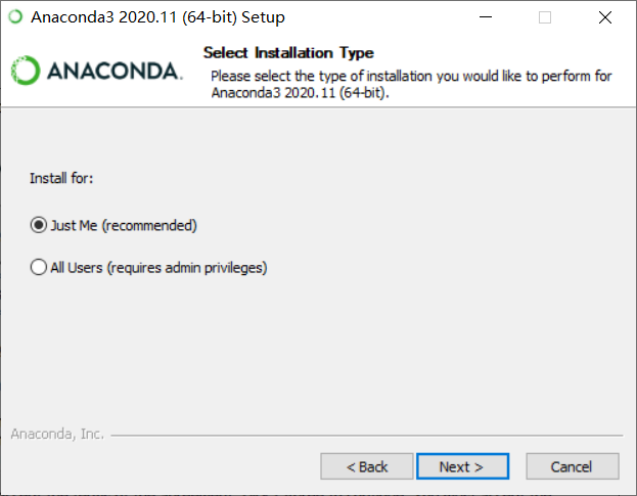
3. On the “Select Installation Type” page, if there is one user, select “Just Me”; if there are multiple users, select “All Users”, and click the "Next" button.
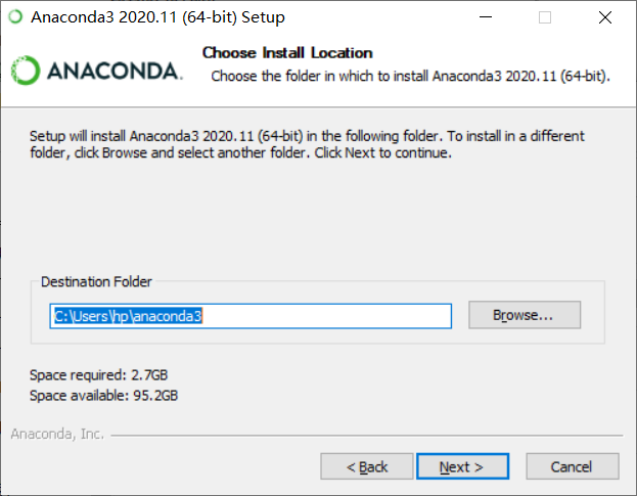
4. On the “Choose Installation Location” page, you can select the installation location of Anaconda with "Browse..." button, and then click "Next" button.
5. On the “Advanced Installation Options” page, check the second option, and click the "Install" button.
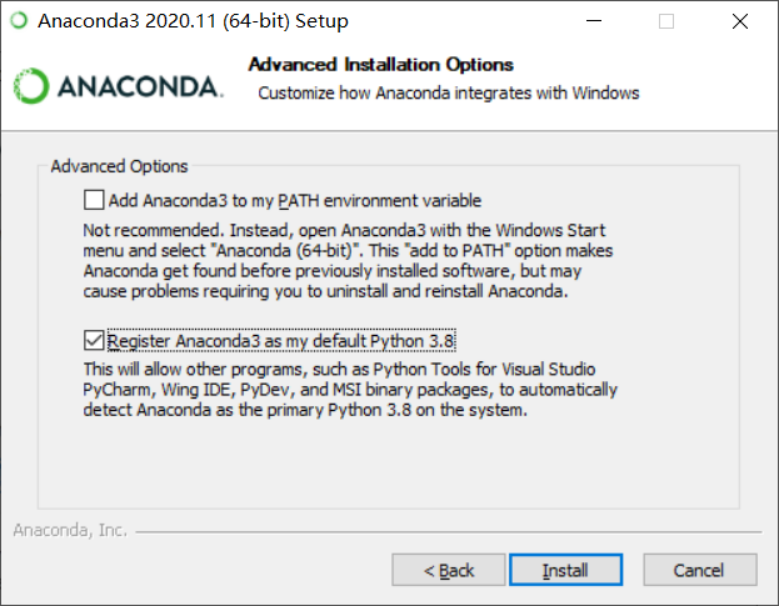
Description:
Add Anaconda to my PATH environment variable: Officially, it is not recommended to add Anaconda to the PATH environment variable for fear that it will interfere with other software, but to use Anaconda by opening Anaconda Navigator or Anaconda Prompt from the Start menu ( In fact, it doesn't matter if you check the option or not, you can change the PATH later yourself).
Register Anaconda3 as my default Python 3.8: Check this box unless you plan to install and run multiple versions of Anaconda or Python.
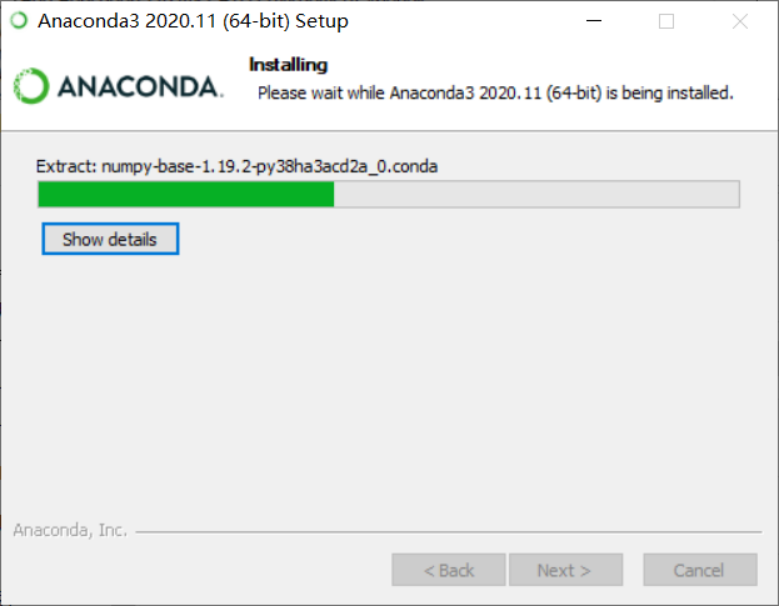
6. On the “Installing” page, wait a few minutes, and click the "Next" button.
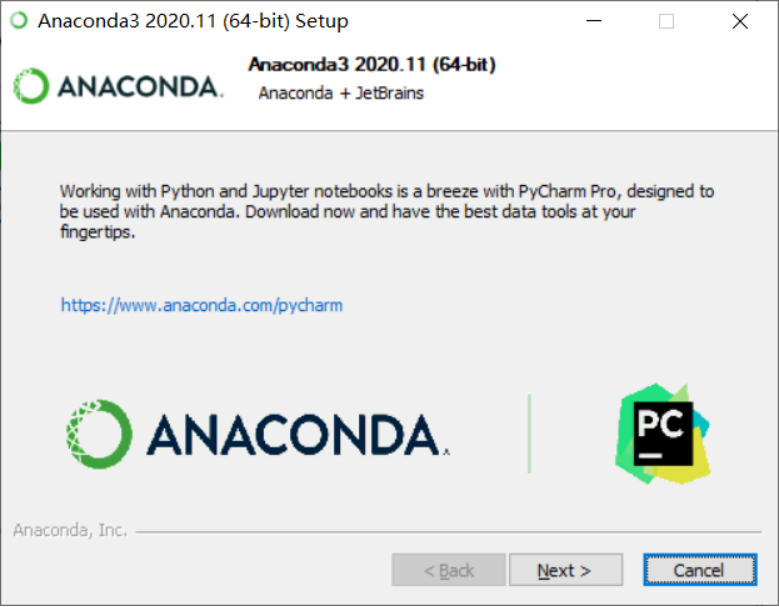
7. On the “Anaconda3 **” page, you are recommended to install Pycharm (here is the trial version, and the installation of community free version will be introduced later), click the "Next" button.
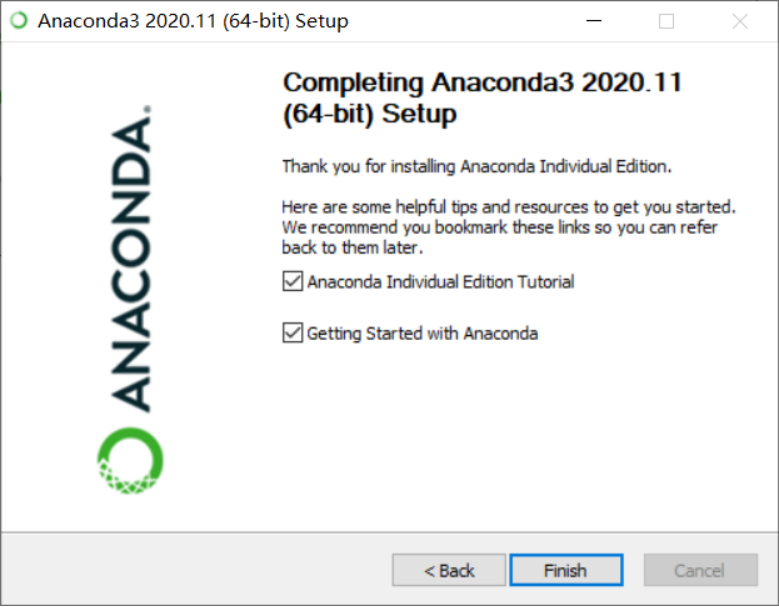
8. On the “Thank you for installing” page, click the "Finish" button.
Run Python
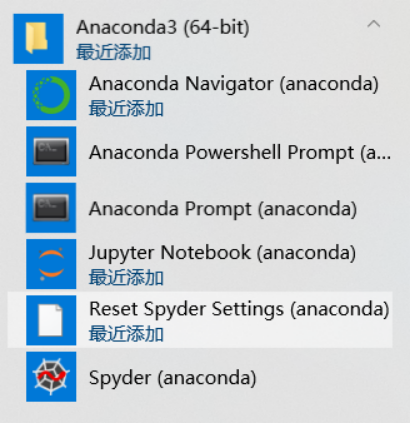
After the installation of Anaconda is complete, an additional shortcut will appear in the Start menu, which is the six programs of Anaconda.
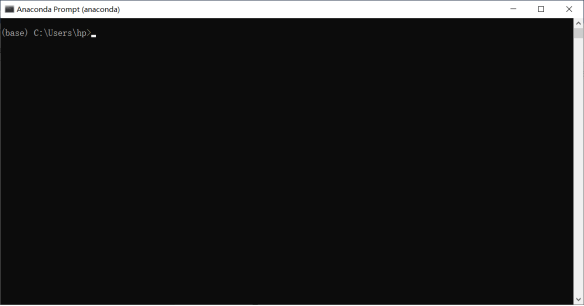
1. Anaconda Prompt is the cmd window, which opens as follows:
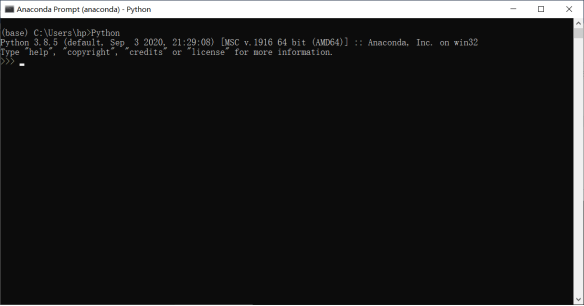
2. Type Python to launch the Python interpreter
3. Verify whether all the required installation packages exist or not. Here pandas and numpy are represented for verifying.
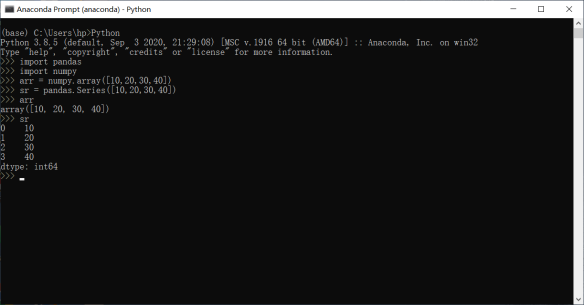
4. Type “pip list” to view all installed packages.

The installation of Anaconda is complete.
Introduce Jupyter Notebook
Anaconda also comes with Jupyter Notebook, which is a web-based application for interactive computing. It can be used in the whole process of computing: developing, documenting, running code and presenting results. Interested readers can try it out, and it feels good to use.
Install Pycharm
For Python, you still need an editor to develop large projects. There are many Python editors, so here is an introduction of Pycharm as an example.
The link to download Pycharm is:
http://www.jetbrains.com/pycharm/download/#section=windows
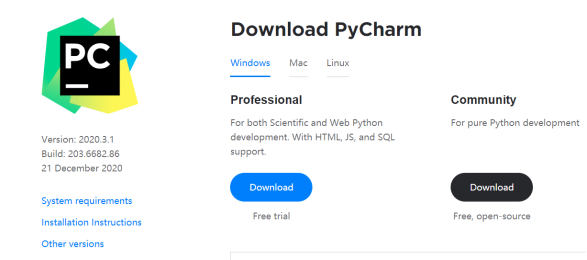
Generally speaking, you can download it by choosing Community (community version, free of charge).
Download and double click to install it.
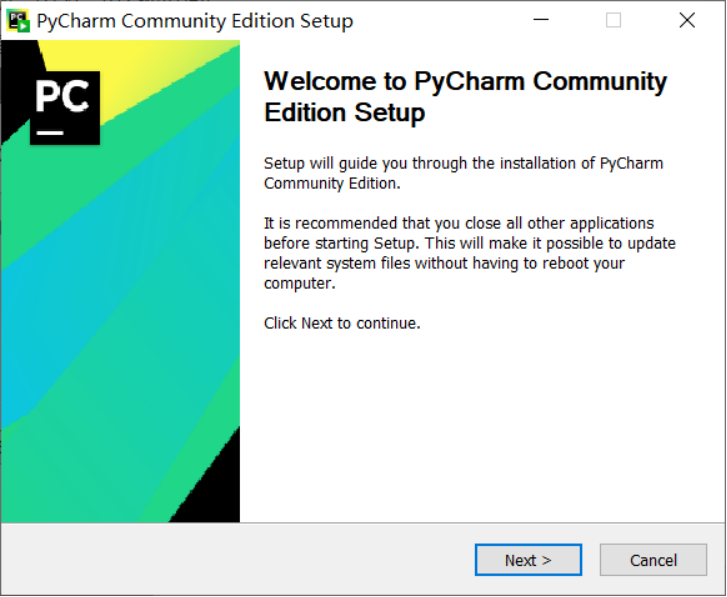
1. On the “Welcome” page, click "Next" button.
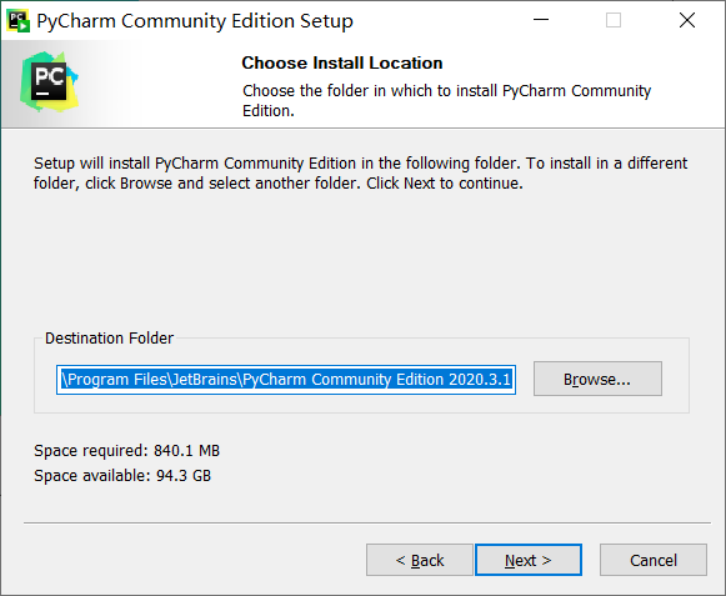
2. On the “Choose Installation Location” page, you can choose the installation location of Psycharm with "Browse..." button, and click "Next" button.
3. On the “Installation Options” page, check the setup options according to your needs, and click the "Next" button.
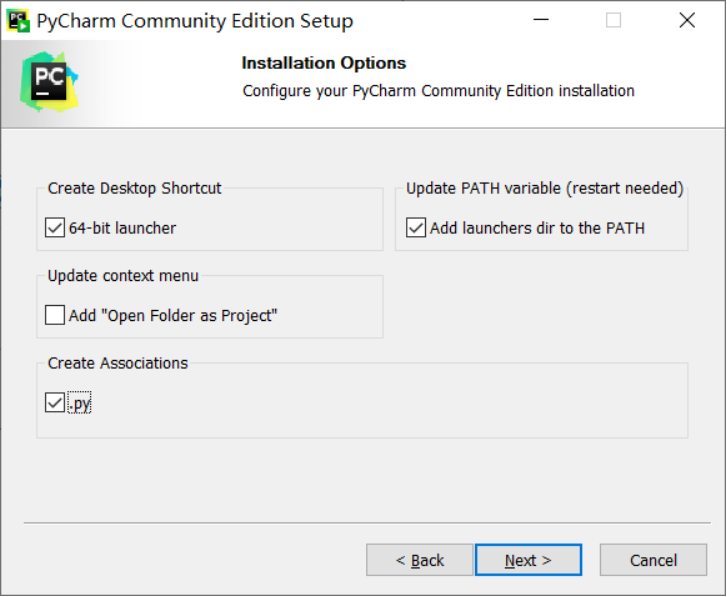
Description:
“create desktop shortcut”: select 32-bit for 32-bit systems or 64-bit for 64-bit systems.
“update PATH variable (restart needed)”: add launchers dir to the path.
“update context menu”: add "open folder as project".
“create associations”: double click .py association file to open it with pycharm.
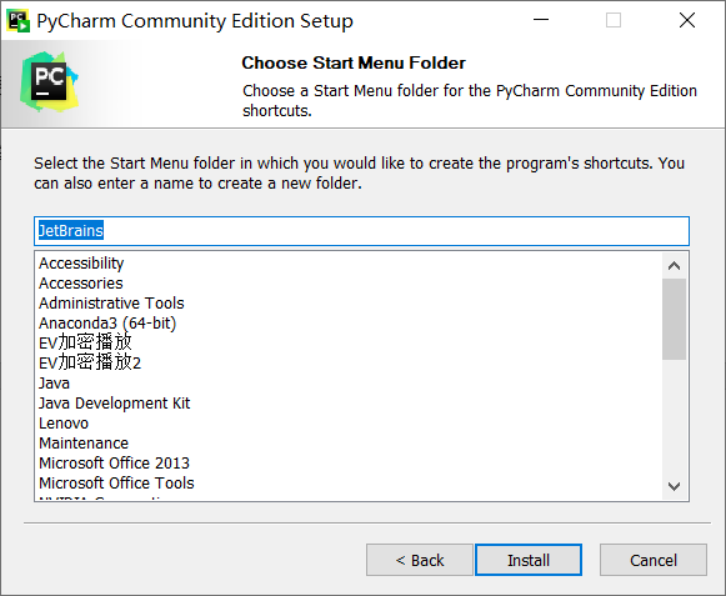
4. On the “Choose Start Menu Folder” page, choose according to your needs, and click the "Next" button.
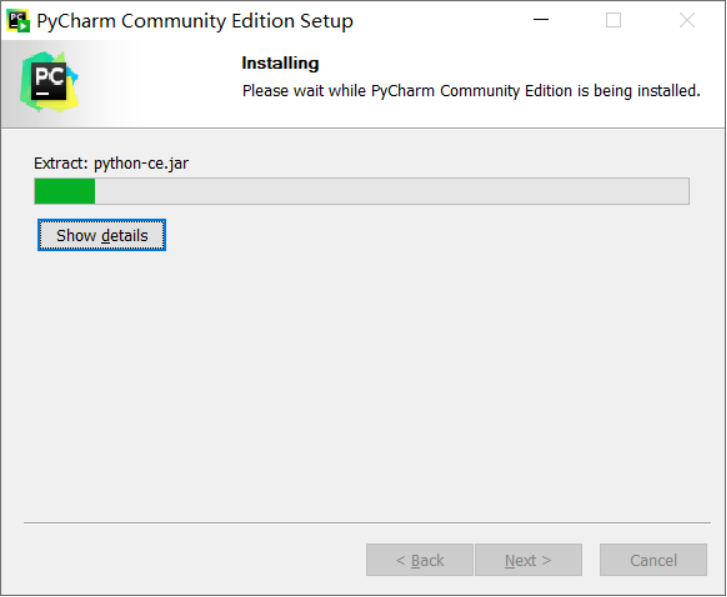
5. On the “Installing” page, wait a few minutes, and click the "Next" button.
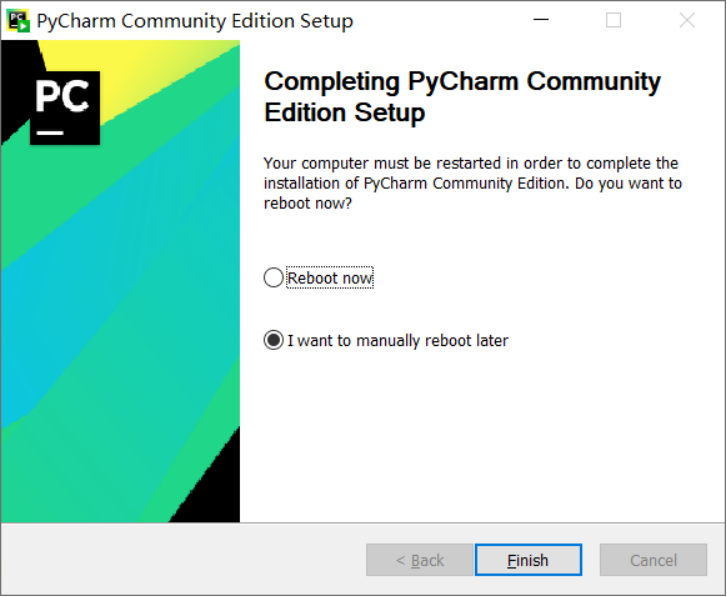
6. On the “Installation complete” page, choose whether to reboot, and click the "Finish" button.
Configure Pycharm
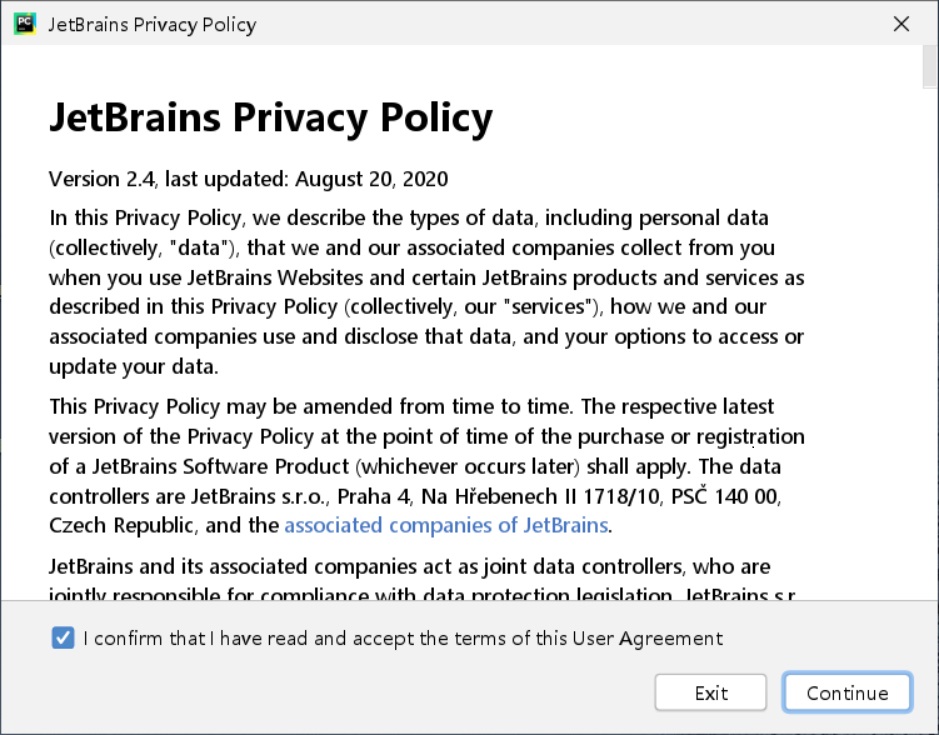
1. Double click the Pycharm icon on your desktop to enter the “License Agreement” page, check the box to agree, and click the "Continue" button.
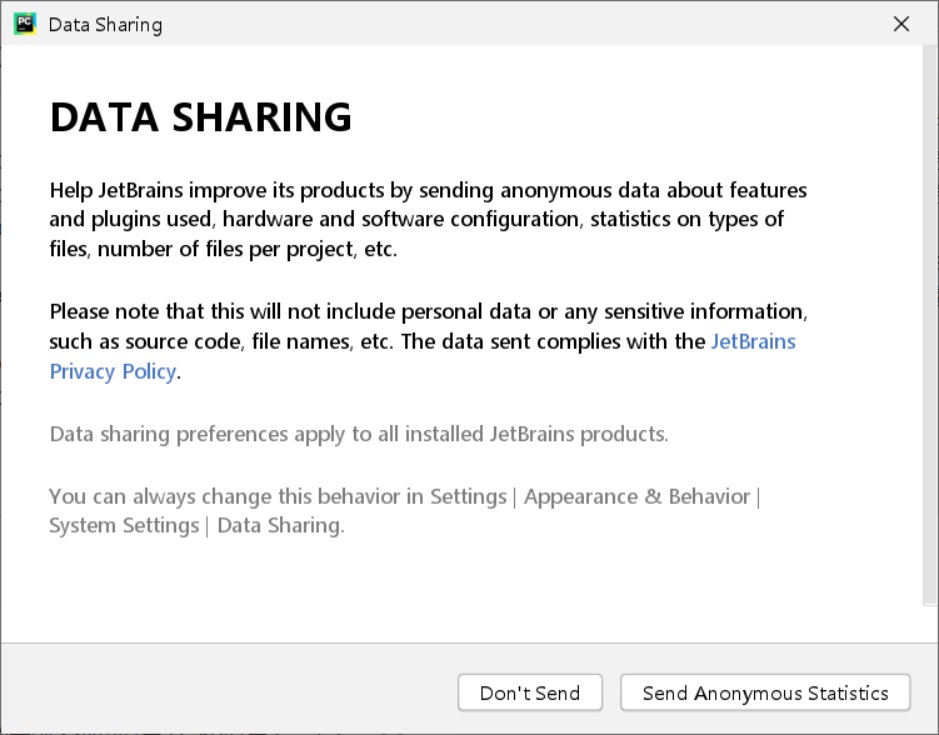
2. On the “Data Sharing” page, choose whether to send data as your wish.
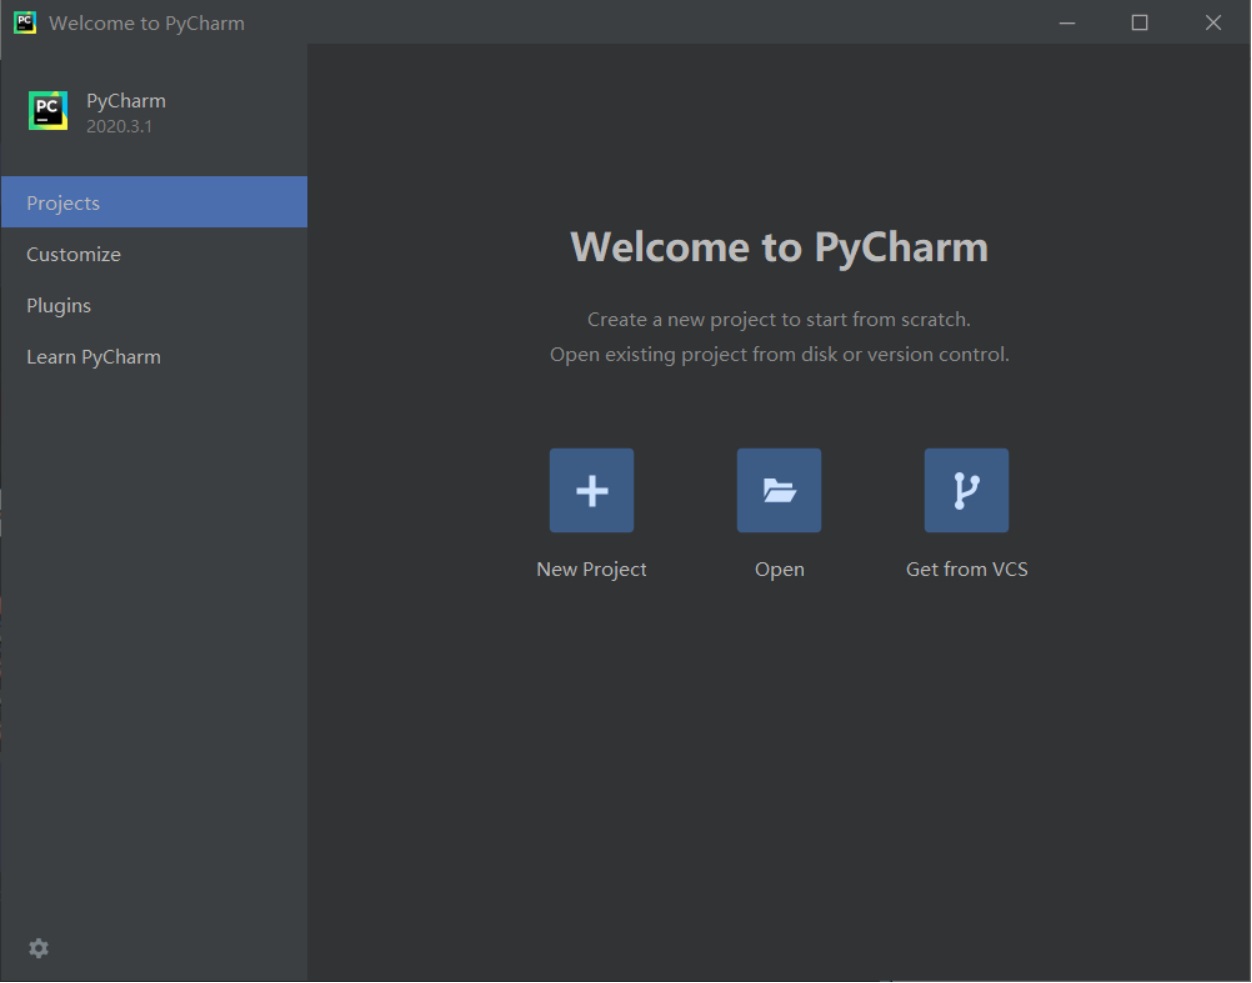
3. On the “Welcome” page, enter Pycharm.
Use Pycharm
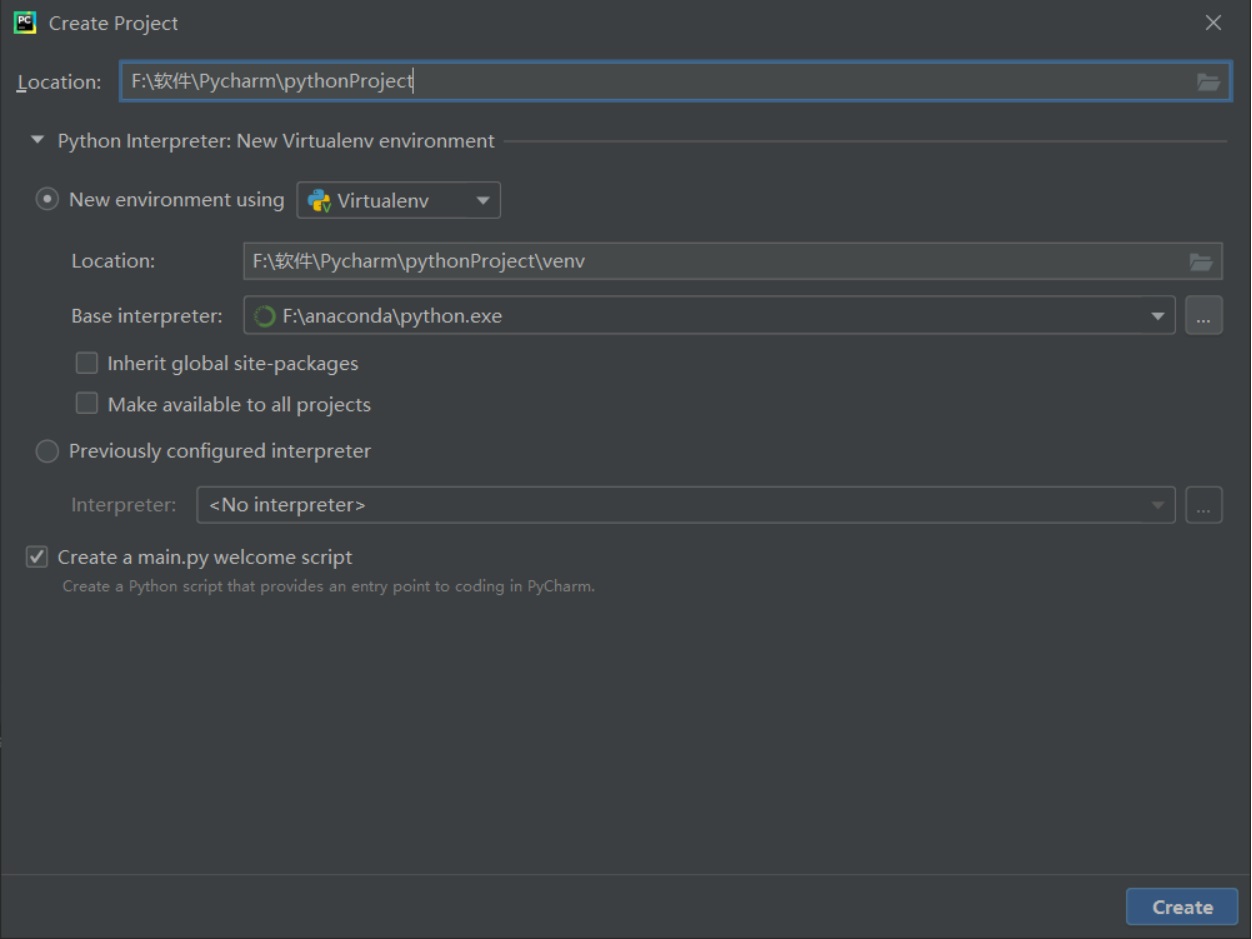
1. Select “New Project”, choose the project location and Python environment, and click “Create”.
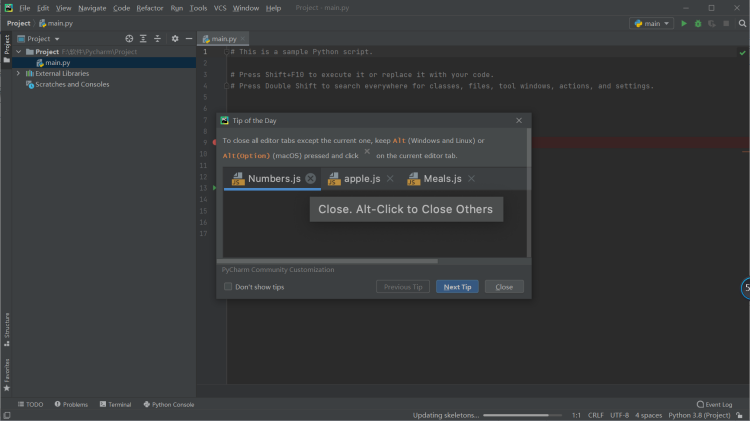
2. Choose whether to look up the operation guide according to your own will (the guide is helpful for beginners to start the operation).
3. Run main.py and print "Hi, PyCharm".
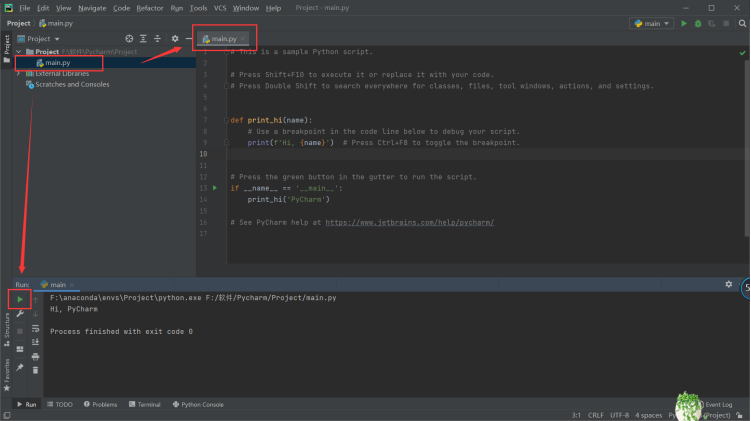
Python and its environment are installed so far (if you need external libraries other than those built-in Anaconda, you will need the “pip” command to install them).
esProc SPL
Install esProc SPL
esProc SPL is also open source freeware and the installation package is available for download at:
After downloading, run it and click "Next" continuously to complete the installation.
Use esProc SPL
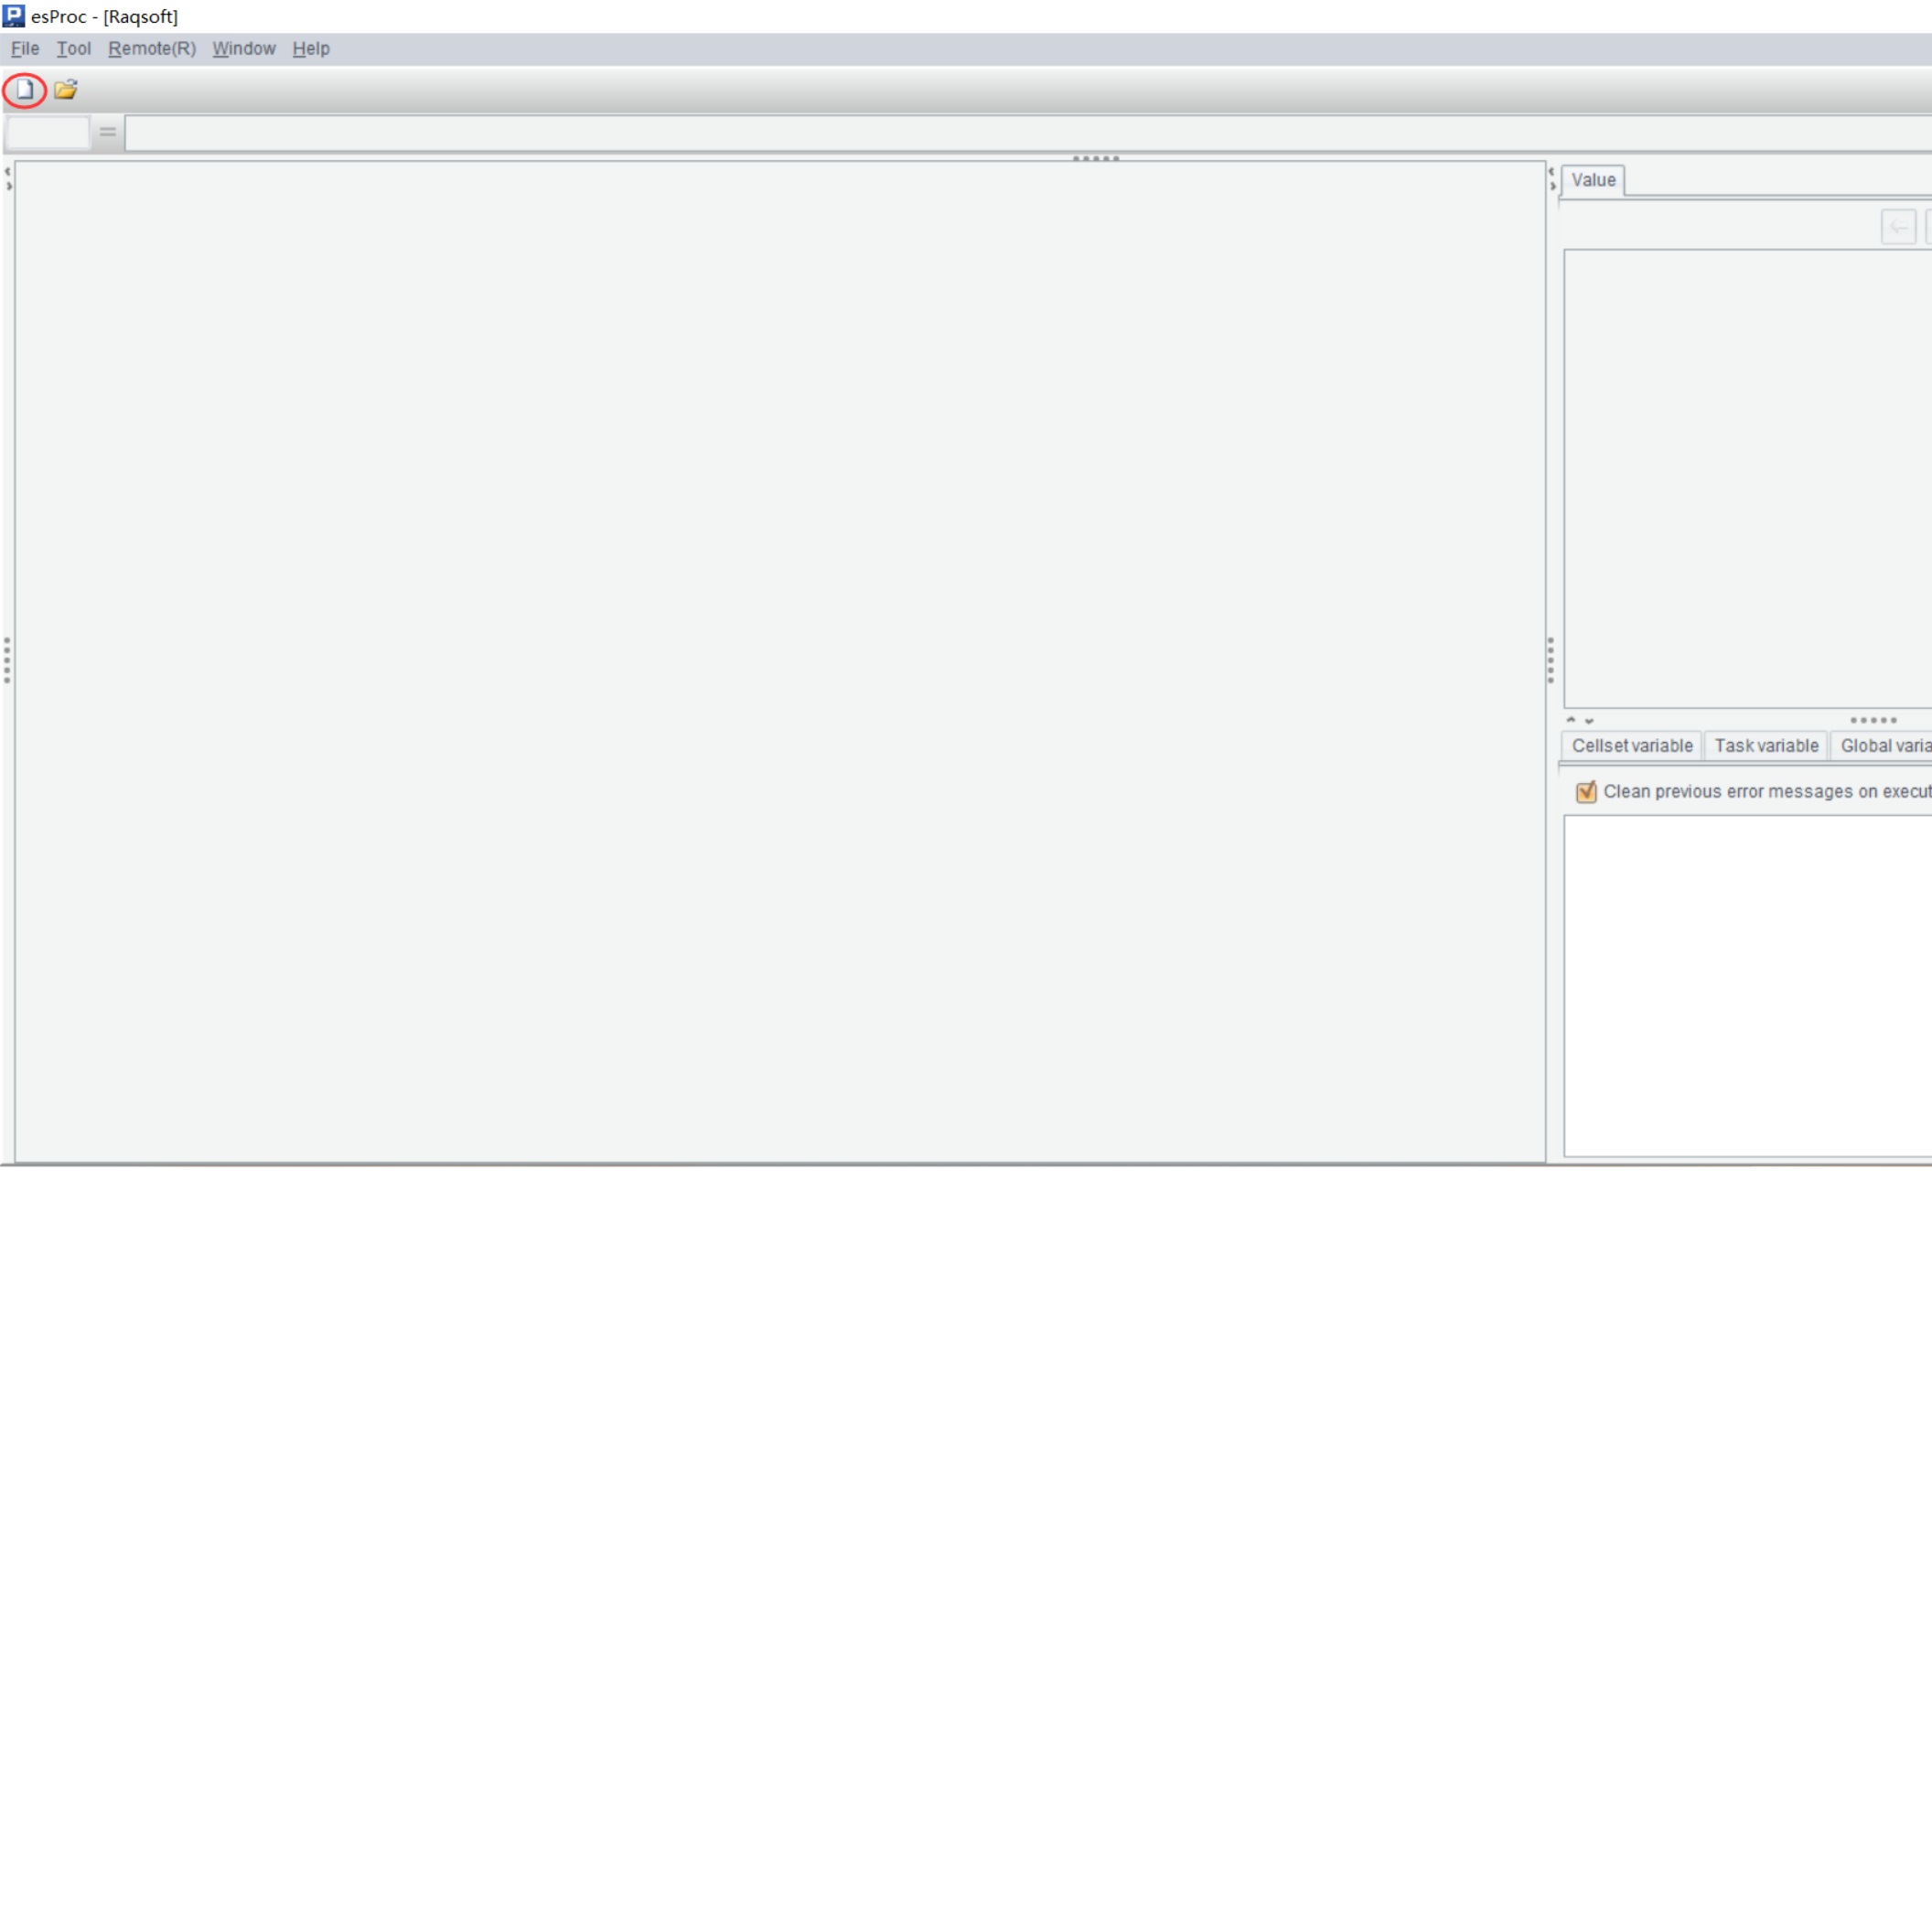
1. Click the "New" button in the upper left corner to create a new file.
2. Run the newly created "p1" file.
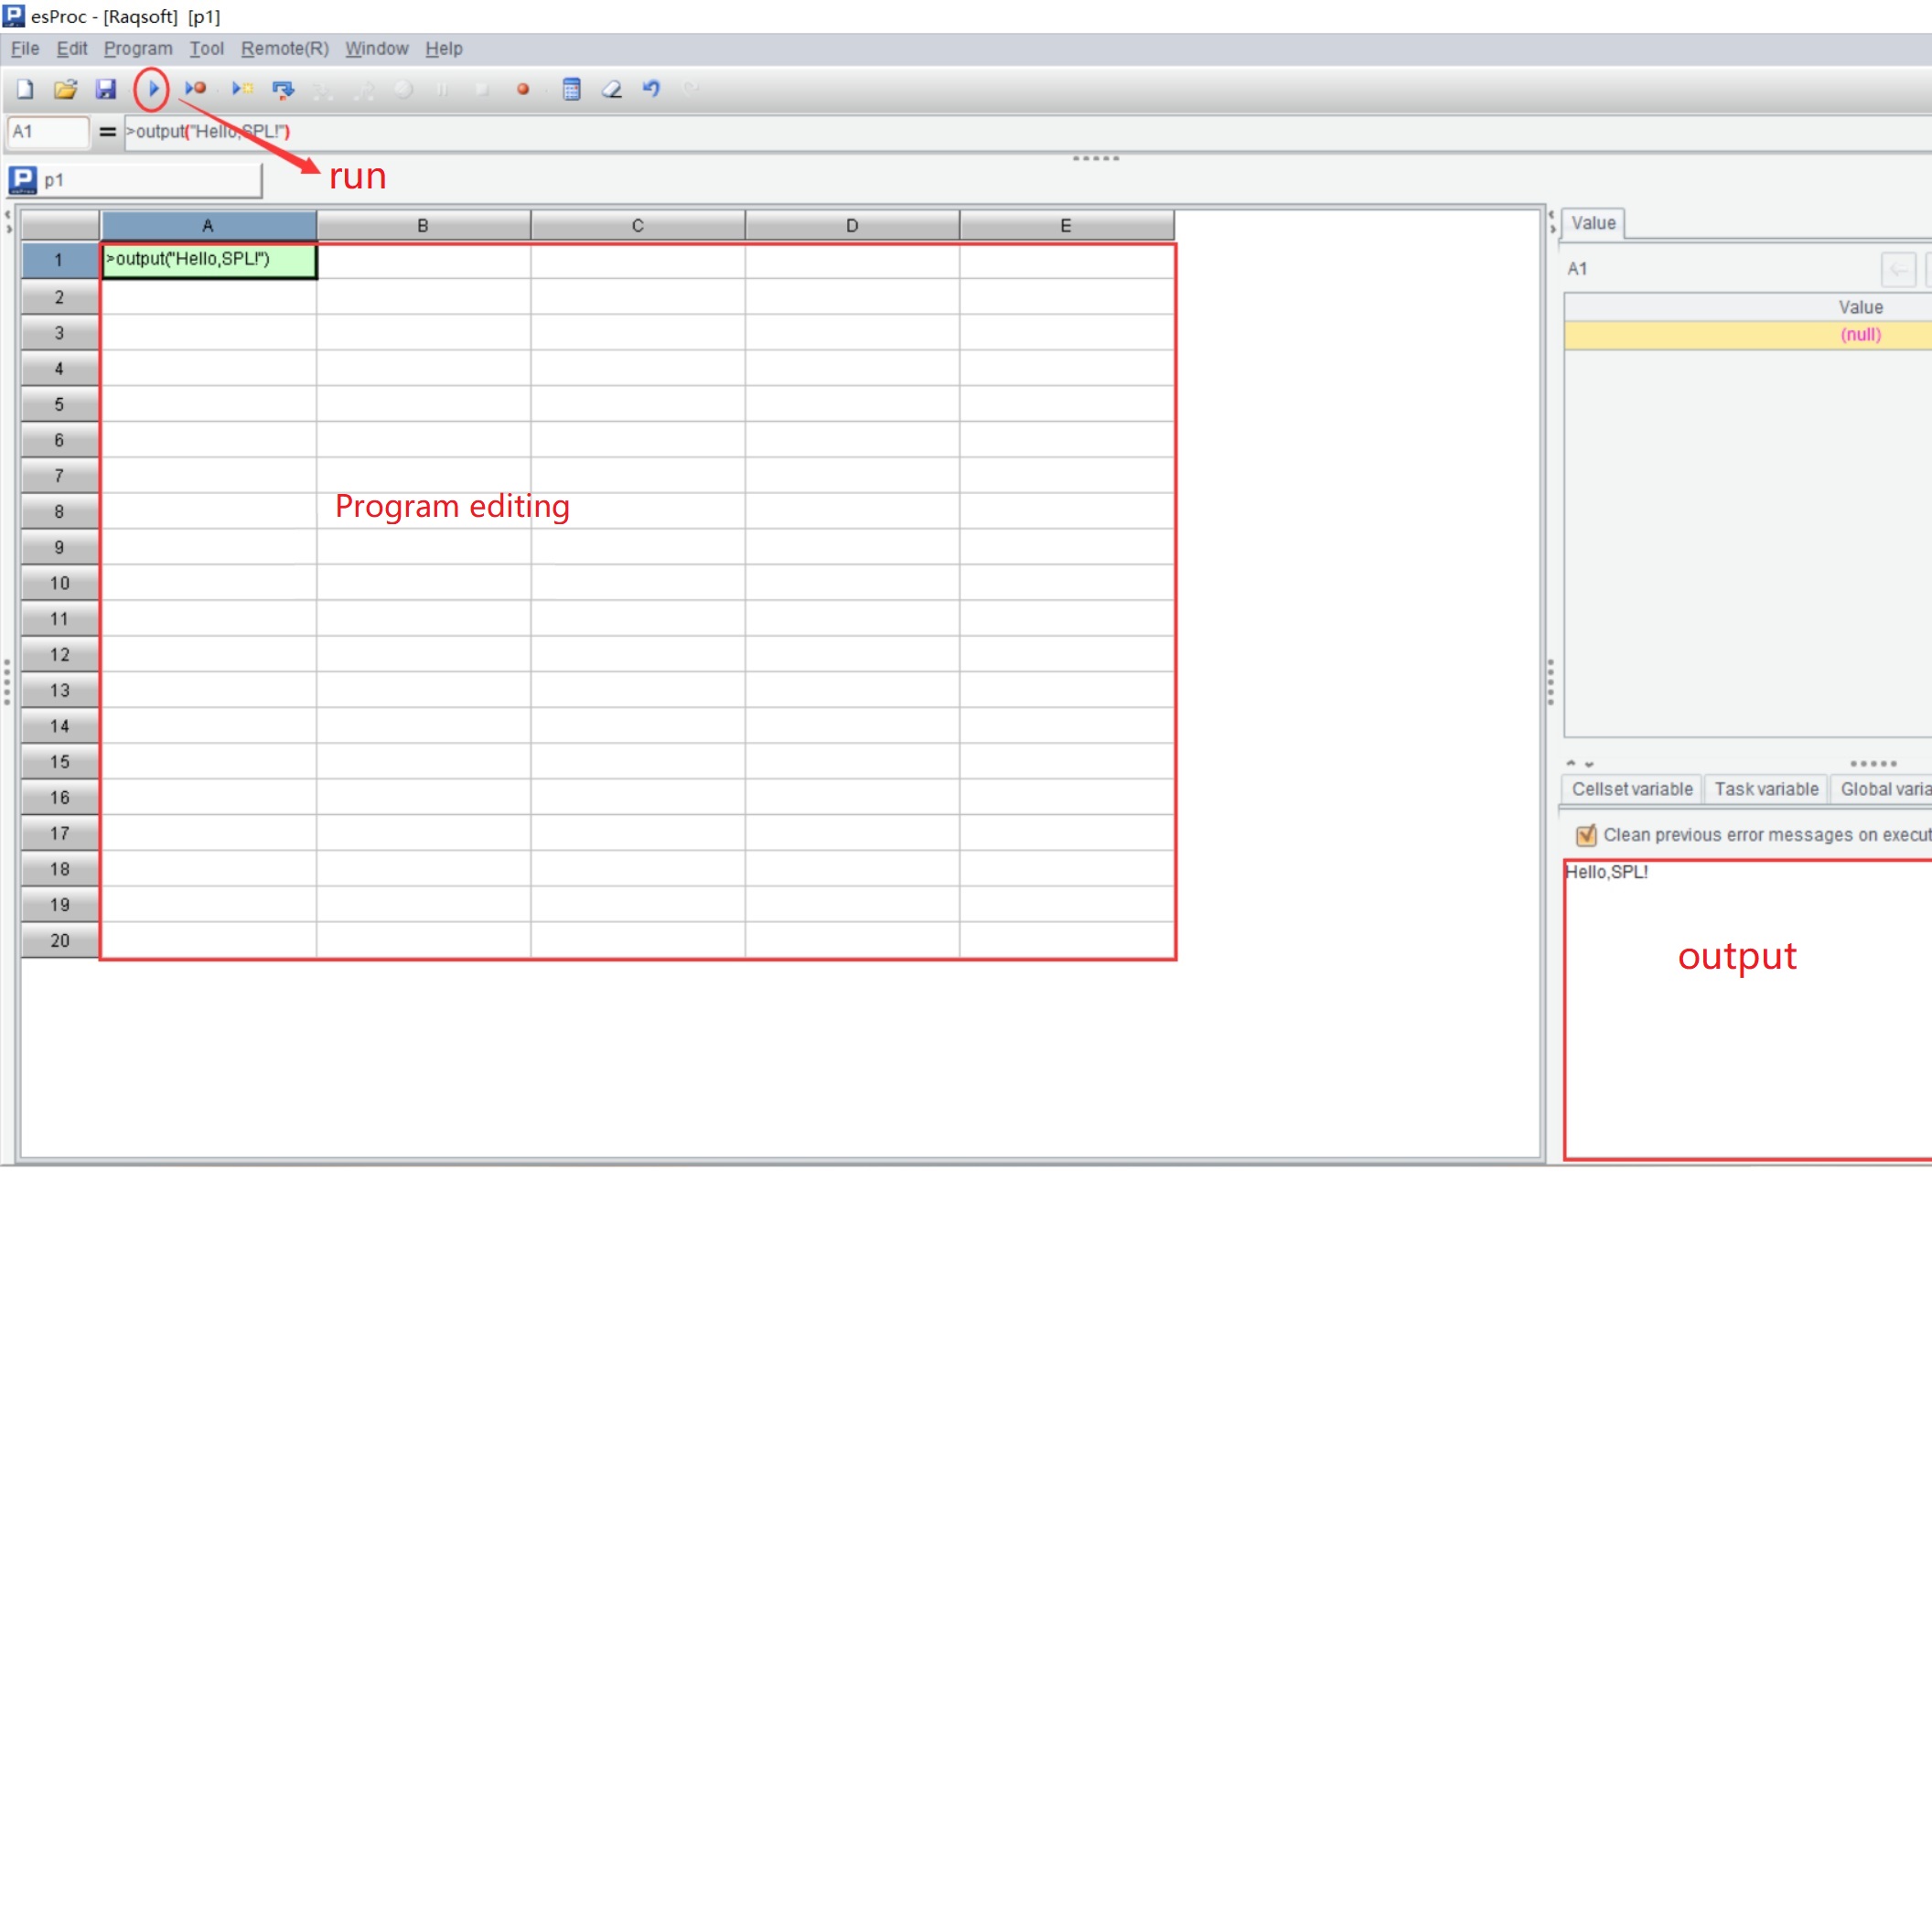
At this point, esProc SPL is ready to use.
Summary
The installation and configuration of Python require a lot of stuff, and even the installation of Anaconda is a bit complicated, plus the installation and configuration of Pycharm, which overall is still a pain. The process is not a big problem for professional programmers, but it is still a big obstacle for those ordinary people.
On the contrary, the installation and configuration of esProc SPL are much easier, and the installation is almost foolproof. All you need is to click "Next" from beginning to end to complete the installation. For non-experts, esProc totally beats Python in terms of program installation.
SPL Official Website 👉 https://www.scudata.com
SPL Feedback and Help 👉 https://www.reddit.com/r/esProc_SPL
SPL Learning Material 👉 https://c.scudata.com
SPL Source Code and Package 👉 https://github.com/SPLWare/esProc
Discord 👉 https://discord.gg/cFTcUNs7
Youtube 👉 https://www.youtube.com/@esProc_SPL


Chinese version