

SPL: Connecting to Databases
SPL offers two ways to connect to databases: direct connection via JDBC/ODBC and JNDI connection pooling.
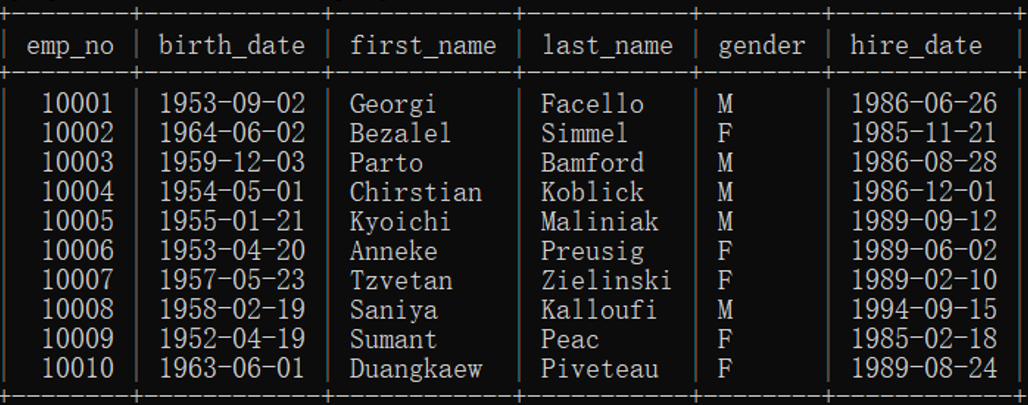
Suppose there is employees table (below) in MyCompany database in Mysql. Let’s use the two ways to connect to it.
Direct connection
JDBC
Download the corresponding JDBC driver, such as Mysql-connector-java-***.jar, from MySQL official website, put it under {SPL installation directory}/common/jdbc/, and start the SPL Desktop.
Quick connection
Directly connect to MyCompany database by using Mysql driver class to connect to the URL in a SPL script:
| A | |
|---|---|
| 1 | =connect(“com.Mysql.jdbc.Driver”,“jdbc:Mysql://127.0.0.1:3306/MyCompany?user=root&password=123456”) |
| 2 | =A1.query(“select * from employees”) |
| 3 | >A1.close() |
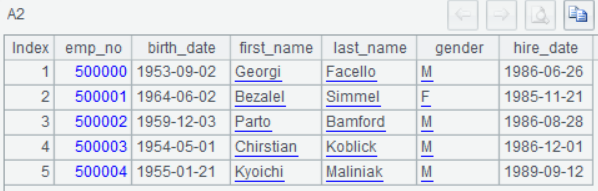
After execution, A2 retrieves data from employees table:

Data source configuration
Though quick connection is convenient, it is not good for achieving unified data source management. Following shows how to preconfigure the data source.
Select “Tool –> Connect to Data Source” on the menu bar:

On “Datasource” window, click “New” button:

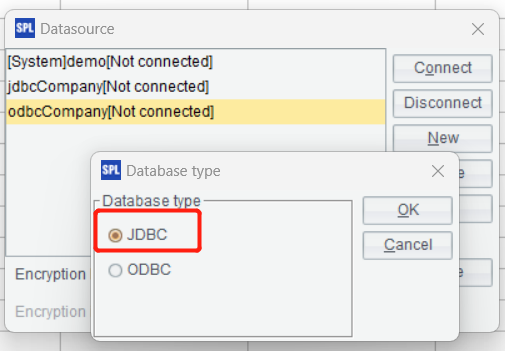
Select JDBC database type:
On the configuration page, name the new data source connection “jdbcCompany”, select “Mysql” database, and enter JDBC properties: driver, URL, User and Password:

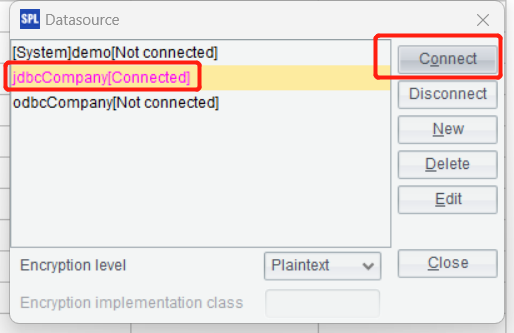
Once the new data source is successfully created, the name “jdbcCompany” appears in the data source list. Click “Connect”, and we can see that the connection is successfully established:
Now we can use the “jdbcCompany” data source in a SPL script:
| A | |
|---|---|
| 1 | =connect(“jdbcCompany”) |
| 2 | =A1.query(“select * from employees”) |
| 3 | >A1.close() |
After execution, A2 retrieves data from employees table:
ODBC
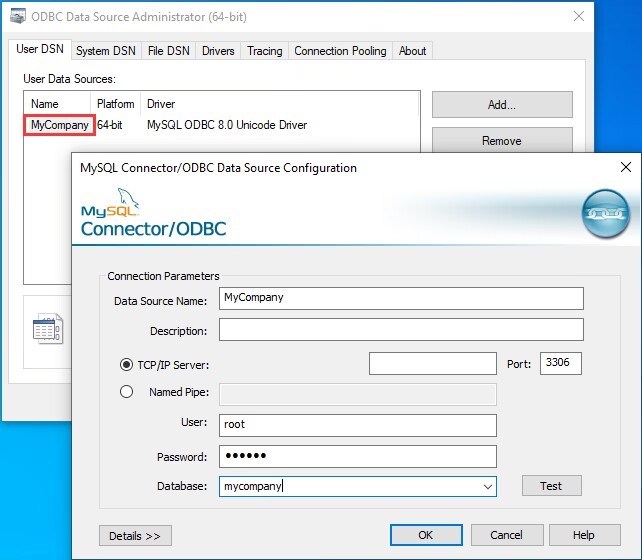
After Mysql’s ODBC driver is installed, create “MyCompany” data source in Windows’ ODBC Data Source Administrator:
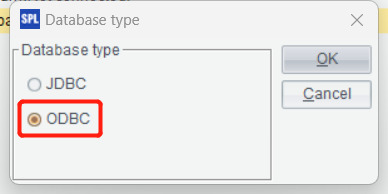
Create ODBC database type in SPL Desktop:
On the detailed configuration page, name the new data source “odbcCompany”, select Windows system’s “MyCompany” data source, and enter Username and Password:

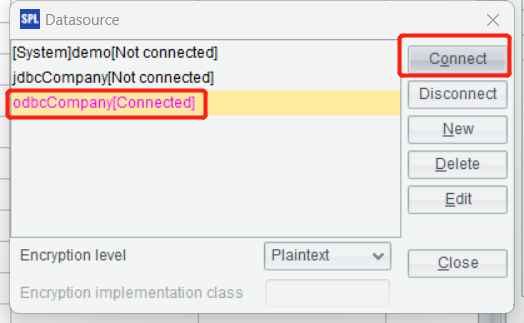
Once the new data source is successfully created, click “Connect” and we can see that the connection is successfully established:
Connect to “odbcCompany” in a SPL script and we can also retrieve data from “employees” table:
| A | |
|---|---|
| 1 | =connect(“odbcCompany”) |
| 2 | =A1.query(“select * from employees”) |
| 3 | >A1.close() |

Configuration file
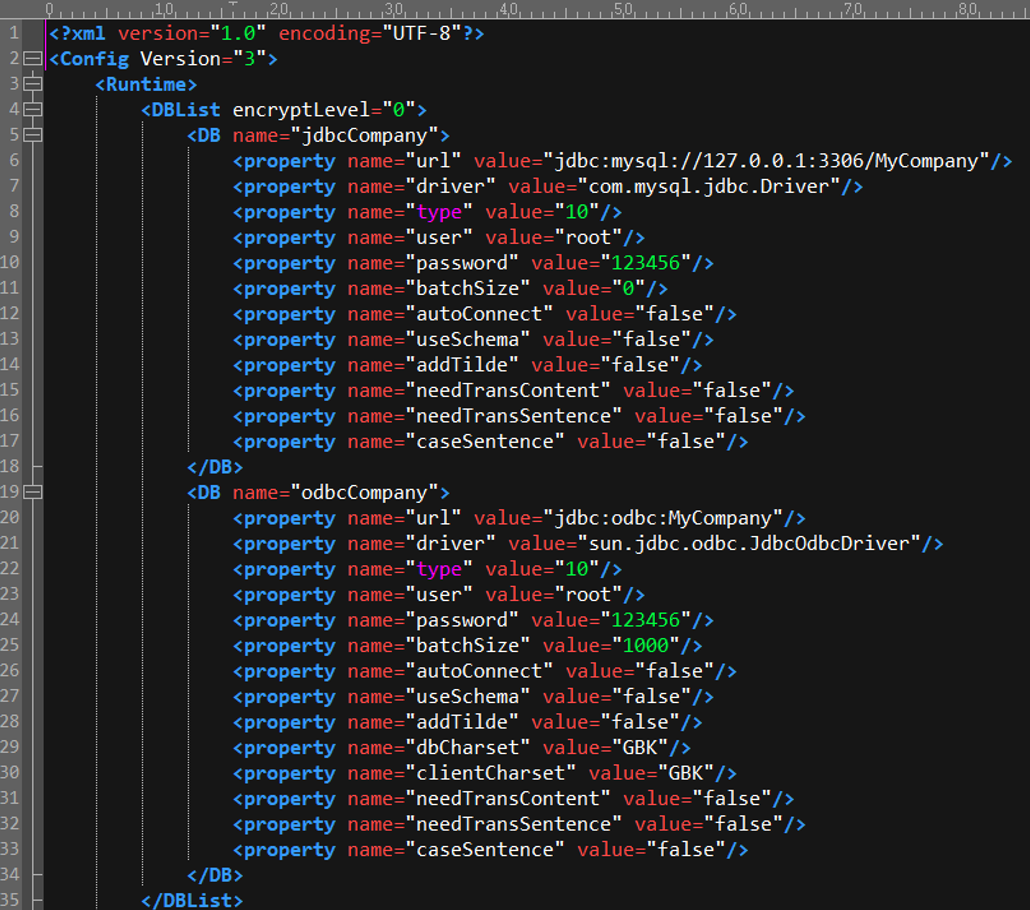
Both the above two direct connection ways are configured via the SPL Desktop interface. The detailed configurations is stored in {SPL installation directory}/esProc/config/raqsoftConfig.xml. Under Config -> Runtime -> DBList tag, we can see the two data sources: jdbcCompany” and odbcCompany:
You can manage data sources in SPL by editing raqsoftConfig.xml manually or on SPL Desktop interface.
JNDI connection pooling
When there is JNDI connection pool in user’s own WEB system, they can connect to a database in the connection pool through the SPL script embedded in the WEB system. Configure multiple JNDI data sources under raqsoftConfig.xml’s Config -> Server -> JNDIList:
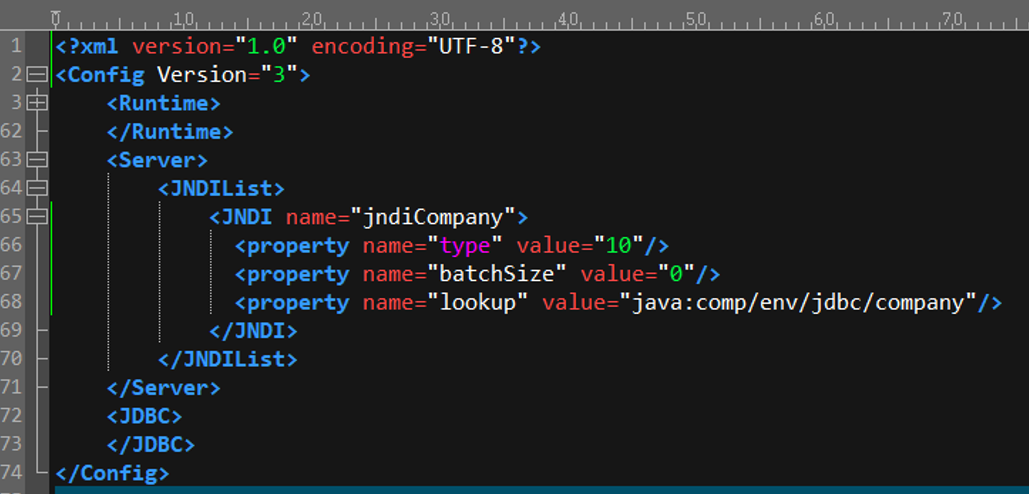
Note that the connection will be successfully established only when the lookup value is correctly configured. Different WEB servers require different prefixes for Jndi lookup. Tomcat and Resion require that the prefix should be java:com/env; Jboss requires that it should be Java; while both Weblogic and Websphere do not set rules for the prefix.
The successfully configured jndiCompany data source can be used in the SPL script. As the script is executed in Java code under WEB environment, we can print the query result to the console, which is convenient for observation. A2 uses output function to output a description statement; A4 outputs data queried from Mysql:
| A | |
|---|---|
| 1 | =connect(“jndiCompany”) |
| 2 | =output(“—–jndiCompany connected—–”) |
| 3 | =A1.query(“select * from employees”) |
| 4 | =output(A3) |
Save the script as testJndi.dfx, write a testJndi.jsp file, and call the script file through SPL’s built-in JDBC:
<%@ page contentType="text/html;charset=UTF-8" %>
<%@ page import="java.util.*"%>
<%@ page import="java.sql.*"%>
Test SPL Jndi in Tomcat!~~
<%
Class.forName("com.esproc.jdbc.InternalDriver");
Connection con= DriverManager
.getConnection("jdbc:esproc:local:/?config=e:/raqsoftConfig.xml");
con.createStatement().execute("call testJndi");
%>
Find more details and methods of calling SPL scripts in Java in How to Call SPL Scripts in Java.
Access testJndi.jsp and on the console we can see data is retrieved:

SPL Official Website 👉 http://www.scudata.com
SPL Feedback and Help 👉 https://www.reddit.com/r/esProc
SPL Learning Material 👉 http://c.scudata.com
SPL Source Code and Package 👉 https://github.com/SPLWare/esProc
Discord 👉 https://discord.gg/ydhVnFH9
Youtube 👉 https://www.youtube.com/@esProc_SPL


Chinese version